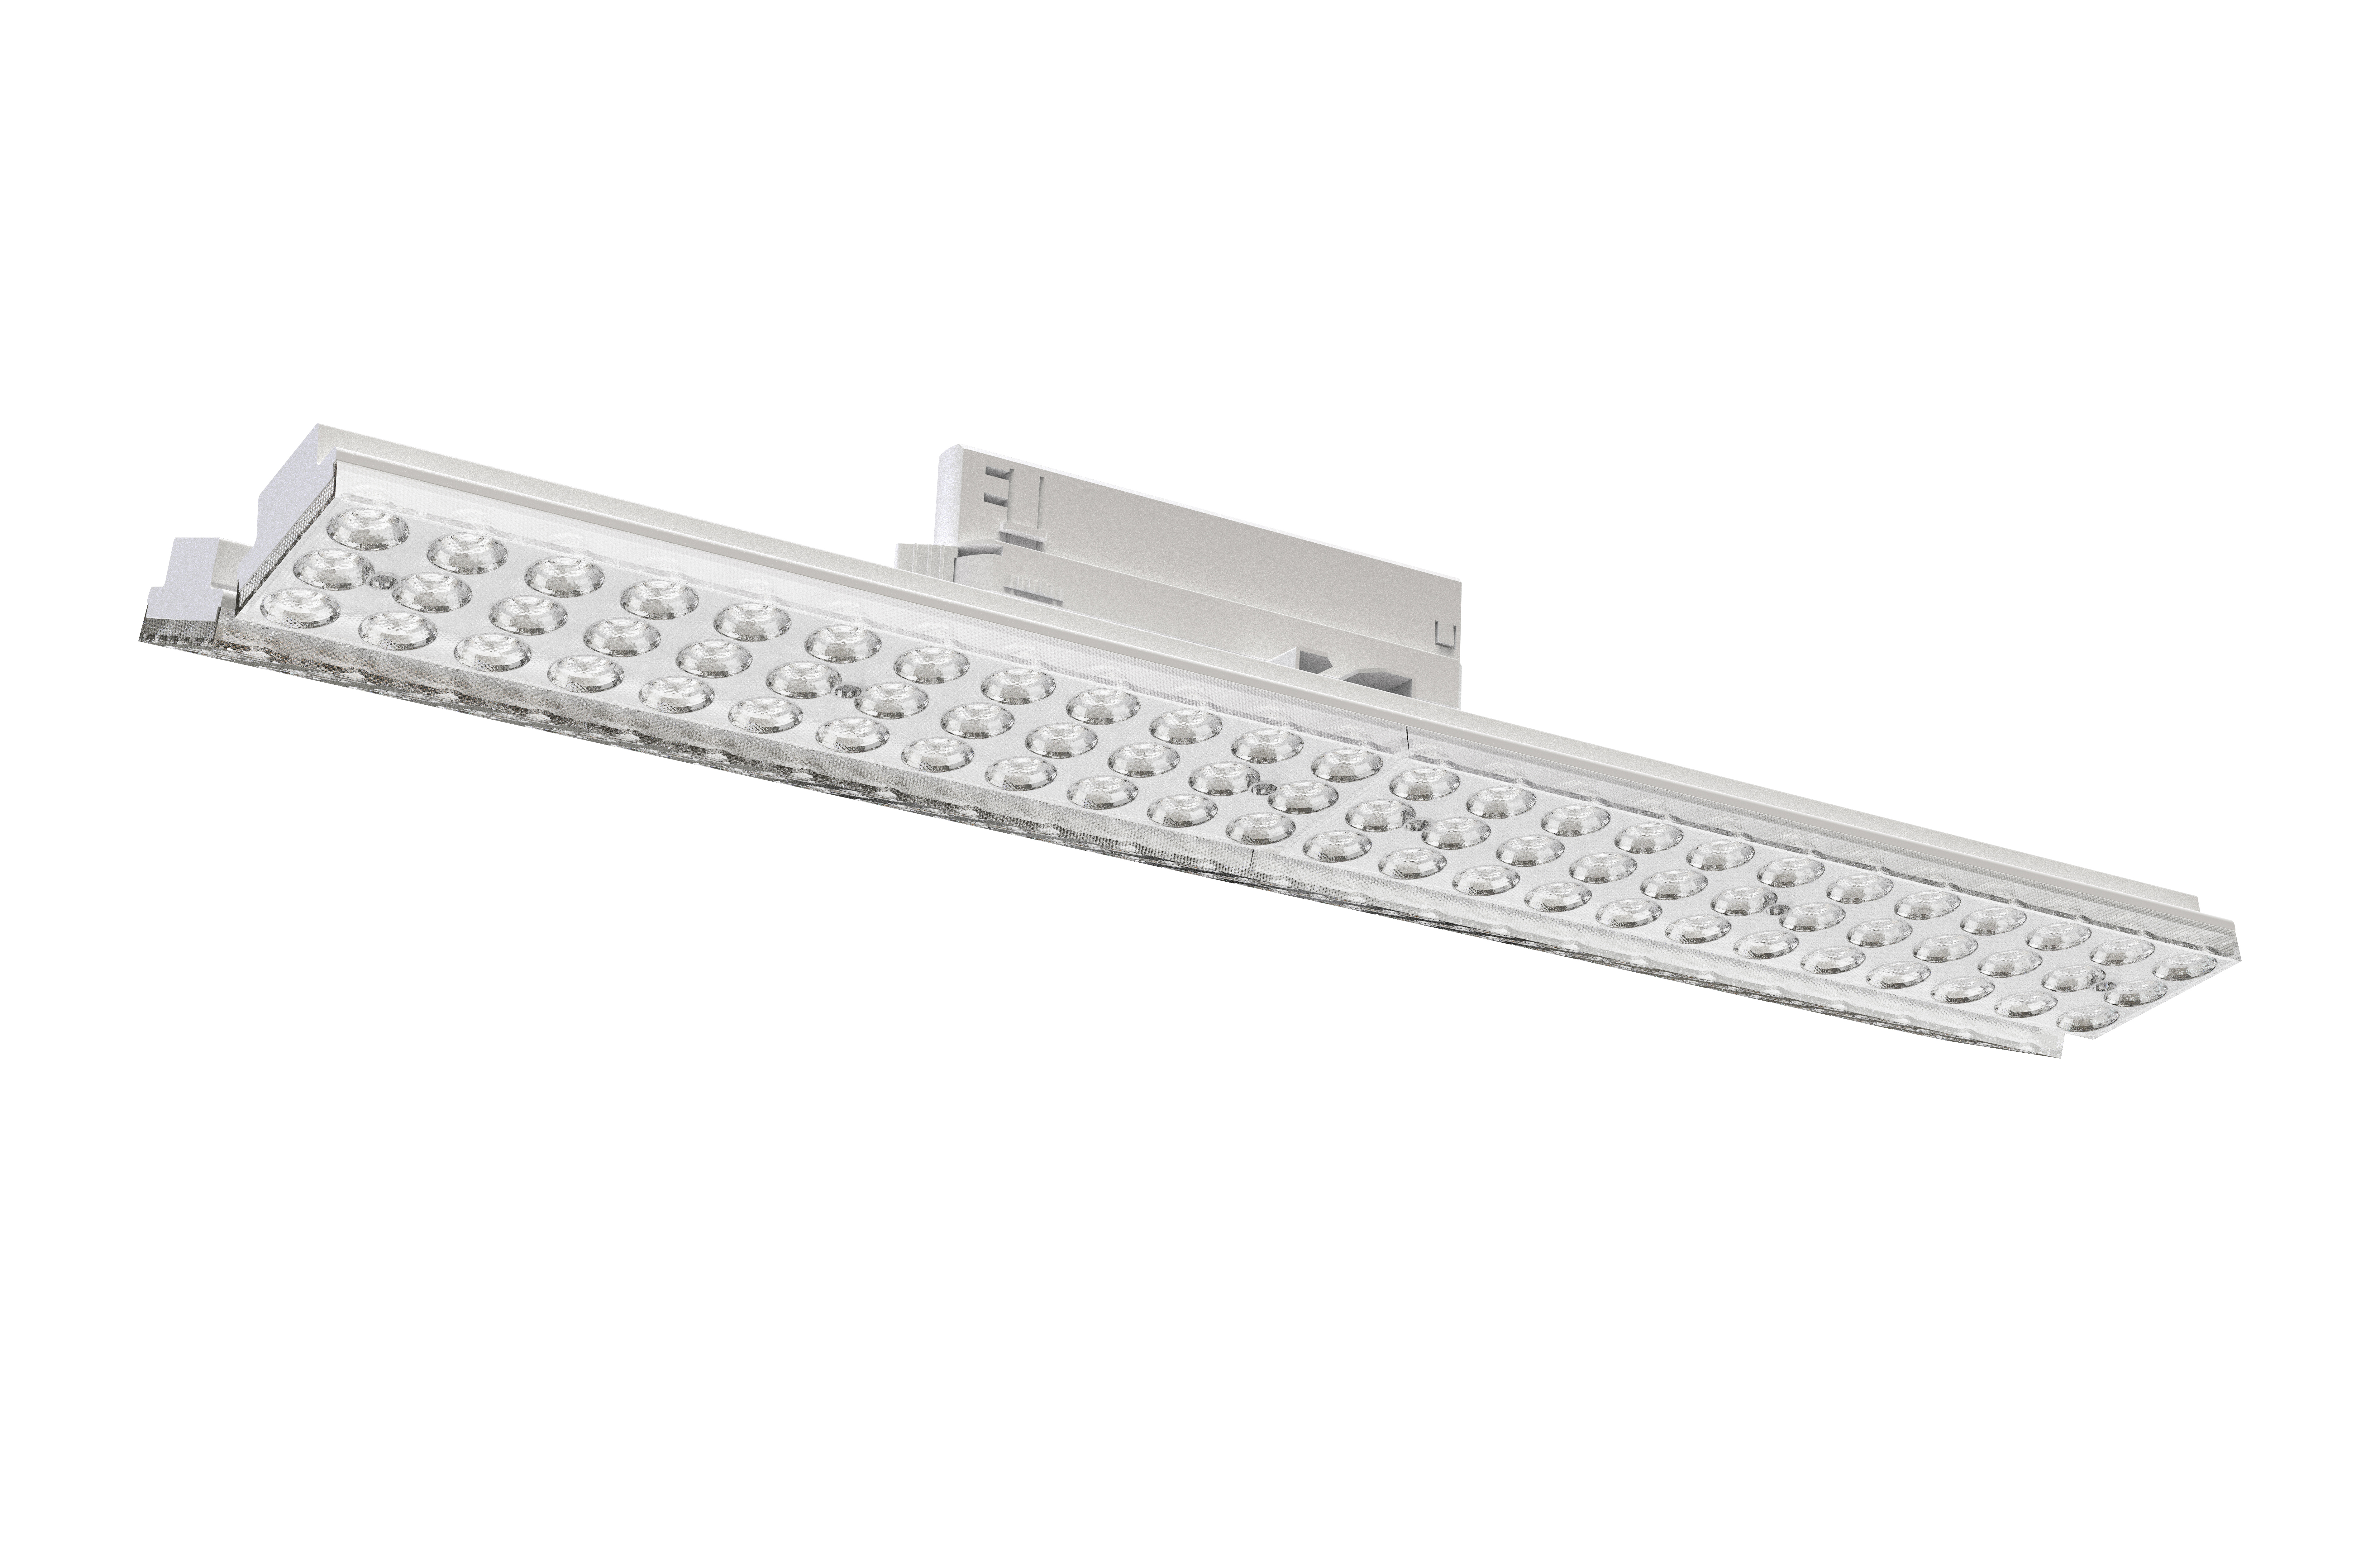
Comprensione dei fondamenti del metodo di installazione
L'installazione pannello LED si divide in due approcci primari: illuminazione a superficie montata LED e pannello LED da incasso, ciascuno offrendo vantaggi distinti per diverse applicazioni. I corpi illuminanti illuminazione a superficie montata LED si collegano direttamente a superfici di soffitto o muro senza richiedere modifiche della cavità del soffitto, rendendoli ideali per i progetti di retrofit e le installazioni semplici. Questo metodo di installazione si adatta alle applicazioni con accesso limitato al soffitto, soffitti finiti esistenti e installazioni temporanee. I sistemi pannello LED da incasso incorporano i corpi illuminanti all'interno delle cavità del soffitto, creando un'integrazione senza soluzione di continuità e aspetti professionali adatti ai progetti di nuova costruzione e ristrutturazione. La scelta tra i metodi di installazione dipende dal tipo di soffitto, dalle preferenze estetiche, dalle considerazioni strutturali e dai vincoli di budget. L'illuminazione LED commerciale nelle strutture esistenti spesso impiega illuminazione a superficie montata LED per ridurre al minimo l'interruzione e i costi. La costruzione pannello LED d'ufficio nuovo frequentemente incorpora installazioni da incasso che raggiungono un'estetica premium senza cornice. La tecnologia pannello LED senza cornice funziona efficacemente con entrambi gli approcci, sebbene l'integrazione da incasso raggiunga un'invisibilità massima. I produttori di illuminazione LED forniscono indicazioni dettagliate per entrambi i metodi di installazione nella documentazione tecnica. Il pannello LED edge-lit e il pannello LED backlit si adattano ad entrambi gli approcci in modo ugualmente bene. I sistemi illuminazione lineare LED e illuminazione lineare LED sospesa richiedono calcoli specifici del supporto strutturale. I fornitori professionali di illuminazione LED consigliano il montaggio in superficie per le strutture esistenti e l'installazione da incasso per i nuovi progetti.
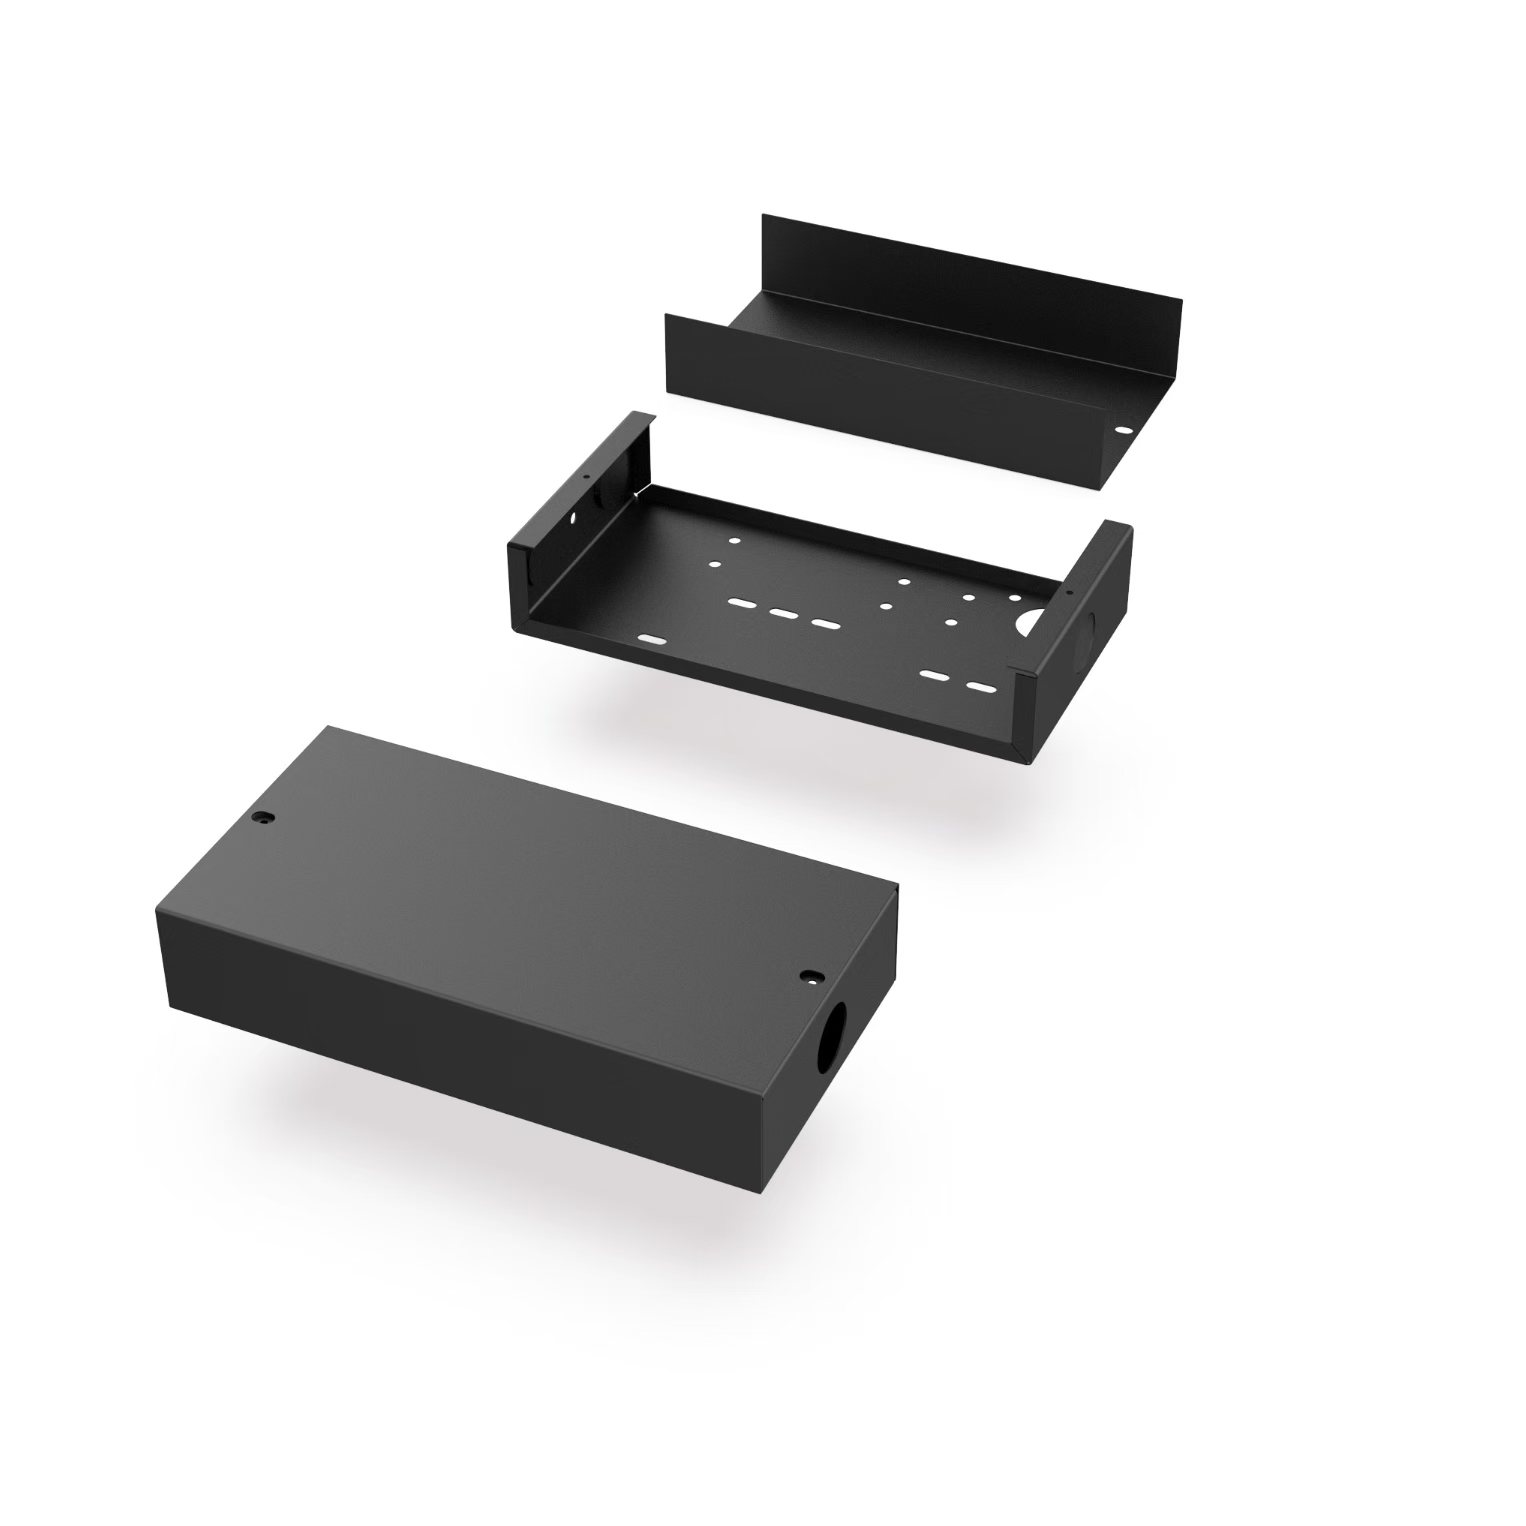
Fasi di installazione dell'illuminazione a superficie montata LED
L'installazione illuminazione a superficie montata LED rappresenta l'approccio più semplice e flessibile, richiedendo una modifica minima del soffitto. Inizia determinando il posizionamento del corpo illuminante utilizzando un livello e un metro a nastro, garantendo l'allineamento con gli elementi architettonici e i calcoli dello spazio. Contrassegna i punti di montaggio direttamente sulla superficie del soffitto, garantendo che si allineino con il supporto strutturale solido. Installa le staffe di montaggio utilizzando i fissaggi appropriati per il materiale del soffitto: ancoraggi a bullone per il cartongesso, ancoraggi in cemento per le superfici cementate e viti per i substrati in legno. Verifica l'altezza della staffa e il livello prima di assicurare in modo permanente. Collega l'alimentazione elettrica pannello LED da una scatola di giunzione vicina o da un circuito esistente, seguendo tutti i codici elettrici locali e gli standard di sicurezza. Posiziona attentamente il corpo illuminante sull'hardware di montaggio, garantendo un seggiolino sicuro senza spazi. Collega il modulo luminoso alla staffa di montaggio utilizzando i fissaggi forniti, garantendo il contatto saldo. Testa il funzionamento e il flusso luminoso prima di completare il lavoro. Per il pannello LED dimmerabile, verifica la compatibilità del dimmer prima dell'installazione. Questo metodo illuminazione a superficie montata LED funziona eccellentemente per i design pannello LED edge-lit e pannello LED backlit. I retrofit di illuminazione LED commerciale traggono enormi vantaggi dalla semplicità del montaggio in superficie. Non è richiesto nessuno attrezzo speciale o competenza per le installazioni di montaggio in superficie semplici. Questo approccio si adatta alle situazioni di proprietà dove le modifiche permanenti del soffitto sono proibite.
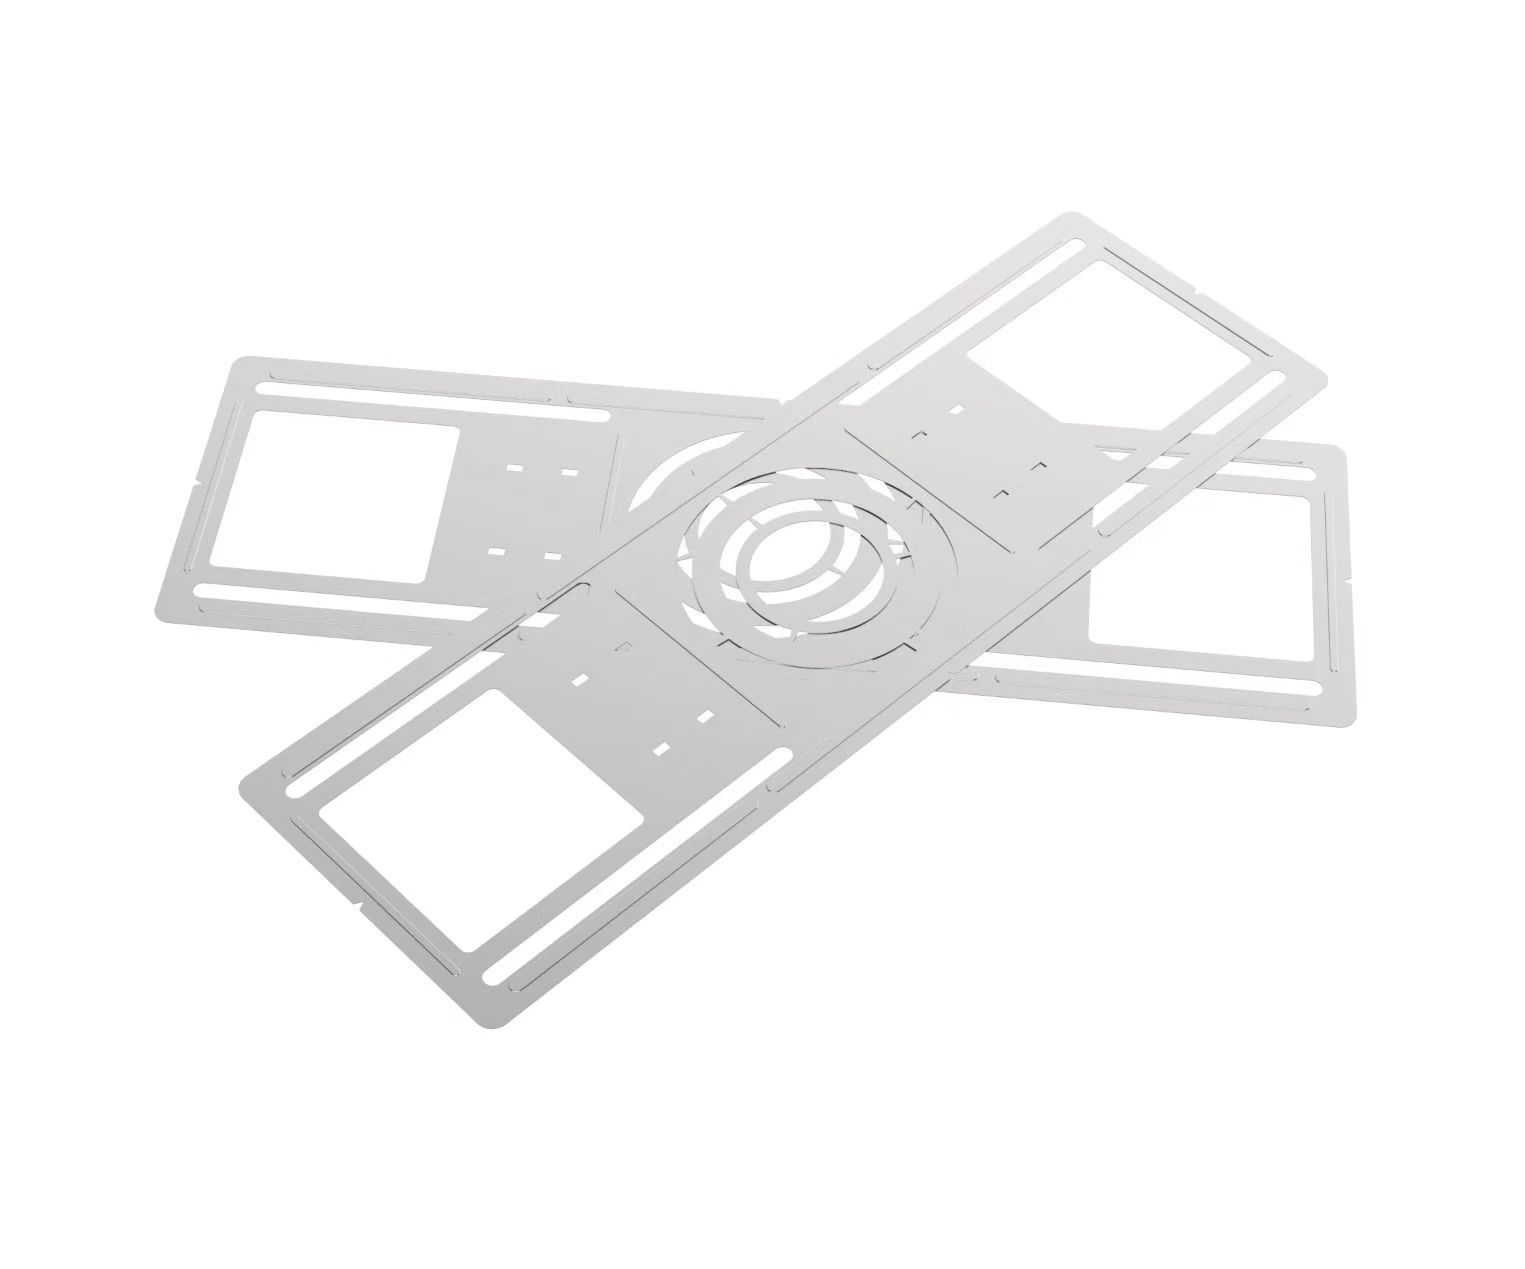
Procedure di installazione del pannello LED da incasso
L'installazione pannello LED da incasso crea un'integrazione del soffitto senza soluzione di continuità ma richiede una preparazione più estesa e modifiche strutturali. Pianifica attentamente i siti di installazione, evitando i componenti strutturali, i condotti, le linee elettriche e l'impianto idraulico. Contrassegna i siti di apertura del soffitto utilizzando un template fornito dal produttore di illuminazione LED. Taglia le aperture utilizzando gli attrezzi appropriati: seghe per cartongesso per i soffitti a goccia, seghe reciprocanti per i soffitti in cartongesso solido. Garantisci che le dimensioni dell'apertura corrispondano esattamente alle specifiche del corpo illuminante, poiché il dimensionamento improprio compromette l'adattamento e l'aspetto. Installa le staffe di montaggio nella cavità del soffitto, assicurandole ai componenti strutturali con i fissaggi appropriati. Verifica il posizionamento della staffa utilizzando gli strumenti di livella e misurazione, garantendo che i corpi illuminanti si siedano perfettamente a filo. Instradata l'alimentazione elettrica a ogni apertura seguendo i codici e garantendo il dimensionamento appropriato del conduttore. Inserisci i corpi illuminanti pannello LED nelle aperture, garantendo il seggiolino e l'allineamento corretti. Assicura i corpi illuminanti alle staffe di montaggio utilizzando l'hardware fornito, verificando il livello. Per il pannello LED edge-lit e il pannello LED backlit, conferma le disposizioni di gestione termica inclusa la ventilazione attorno ai corpi illuminanti. Installa gli anelli di rivestimento e i pezzi di rifinitura creando un'integrazione del soffitto senza soluzione di continuità. Testa il funzionamento e verifica l'uniformità dell'illuminazione prima di chiudere la costruzione. L'installazione da incasso si adatta ai design pannello LED senza cornice e alle plafoniere LED ultra-sottile perfettamente. Questo metodo richiede più tempo e competenze ma fornisce risultati visivi premium.
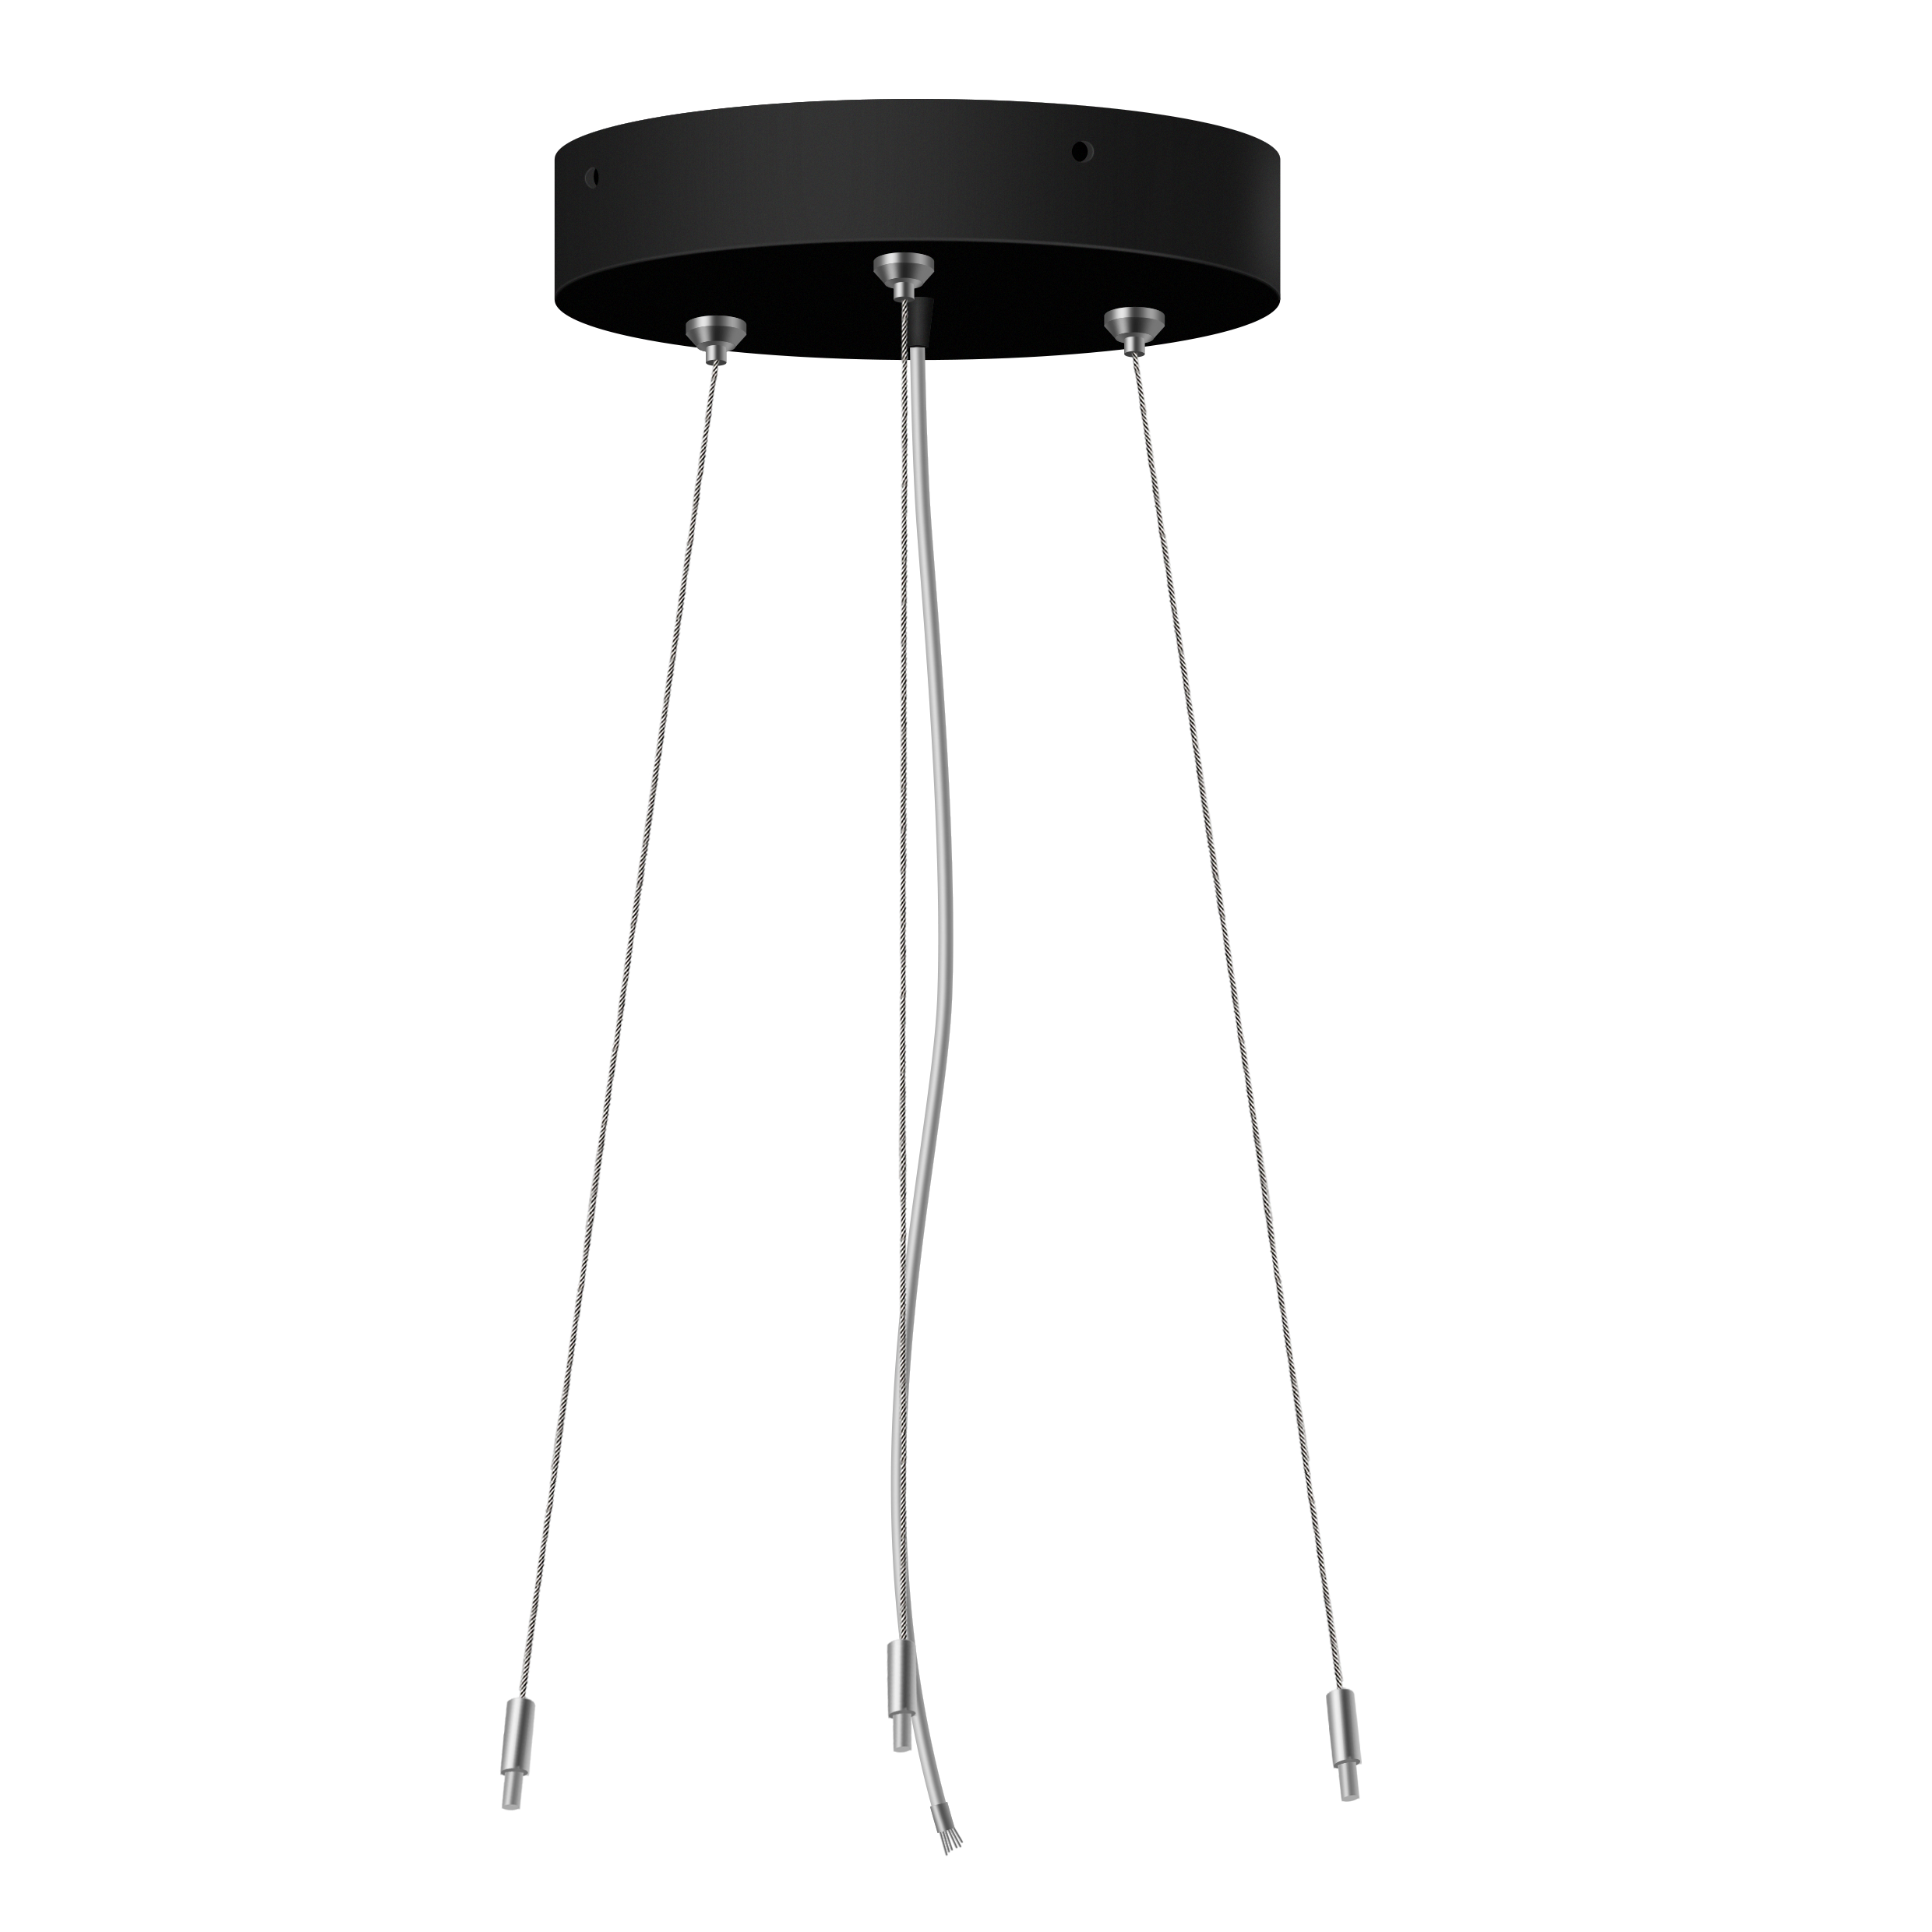
Considerazioni elettriche e sicurezza
L'installazione elettrica appropriata garantisce la sicurezza del pannello LED, le prestazioni e la conformità ai codici di costruzione. Verifica la capacità del circuito e la compatibilità della tensione prima di collegare i sistemi di illuminazione LED commerciale. La maggior parte delle plafoniere LED funzionano su alimentazione monofase standard 110V/120V, sebbene le applicazioni industriali possono richiedere connessioni trifase. Calcola il consumo totale di energia sommando tutti i corpi illuminanti collegati, in genere 40-120W per pannello LED standard. Garantisci che i circuiti esistenti forniscano capacità adeguata senza sovraccarichi; in caso di dubbio, installa circuiti dedicati. Per le installazioni pannello LED dimmerabile, verifica che gli interruttori dimmer e i controller siano modelli compatibili con LED. I dimmer incompatibili causano sfarfallio, ronzio e guasto dei componenti. L'installazione professionale da parte degli elettricisti autorizzati garantisce la conformità al codice e la sicurezza. Metti a terra correttamente tutti i corpi illuminanti, verificando la continuità di terra attraverso le scatole di giunzione e i pannelli elettrici. Per le installazioni illuminazione lineare LED e illuminazione lineare LED sospesa, fornisci supporto meccanico sicuro indipendente dalle connessioni elettriche. L'integrazione pannello LED intelligente richiede la connettività di rete; garantisci il corretto messa a terra previene l'interferenza elettrica. Gli interruttori di sicurezza e gli interruttori automatici dovrebbero interrompersi rapidamente alle condizioni di guasto. L'ispezione elettrica regolare convalida la sicurezza continua durante la durata dell'installazione.
Manutenzione e risoluzione dei problemi
La manutenzione regolare del pannello LED assicura le prestazioni ottimali e estende significativamente la durata dei componenti. L'ispezione visiva mensile controlla l'accumulo di polvere, la decolorazione o il danno visibile. Pulisci delicatamente i pannelli diffusori utilizzando panni morbidi e umidi e sapone leggero, evitando i materiali abrasivi che danneggiano le superfici ottiche. Per le installazioni pannello LED ad alto lume in ambienti polverosi, aumenta la frequenza di pulizia per prevenire la riduzione del flusso luminoso. Verifica le connessioni elettriche rimangono strette, controllando i terminali per la corrosione o l'allentamento. La maggior parte delle soluzioni di illuminazione LED funzionano in modo affidabile per 50.000+ ore con degradazione minima se mantenute correttamente. Monitora il funzionamento del pannello LED dimmerabile, garantendo la dimmerazione liscia senza sfarfallio. L'illuminazione LED senza sfarfallio dovrebbe rimanere costante su tutta la gamma di luminosità; lo sfarfallio indica problemi di compatibilità del controller o del dimmer. Sostituisci prontamente i componenti bruciati; i design moderni pannello LED consentono la sostituzione dei componenti individuali piuttosto che la sostituzione dell'intero corpo illuminante. Traccia le ore operative utilizzando i sistemi di monitoraggio pannello LED intelligente quando disponibili. Contatta i fornitori di illuminazione LED per i reclami di garanzia o i problemi di prestazioni. I contratti di manutenzione professionale forniscono ispezioni periodiche e pulizia da parte di tecnici addestrati. Il pannello LED senza corcia mantenuto correttamente, il pannello LED edge-lit e il pannello LED backlit forniscono decenni di servizio affidabile. La documentazione dai produttori di illuminazione LED specifica le procedure di manutenzione corrette per ogni linea di prodotti.